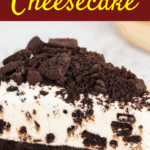
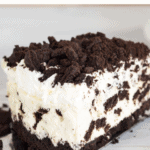
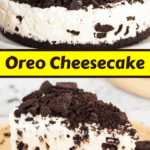
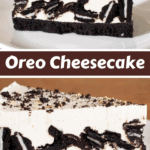
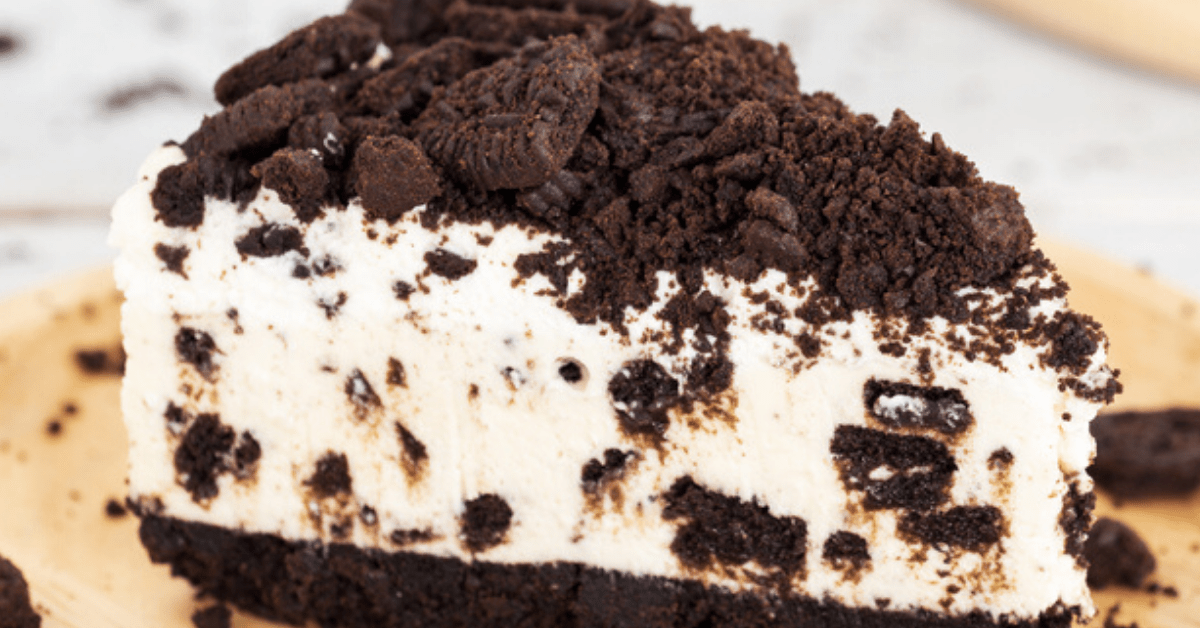
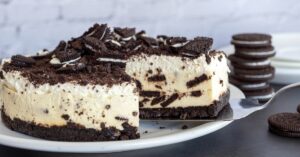
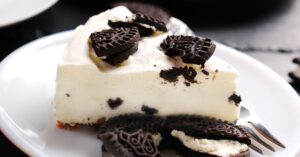
This easy No-Bake Oreo Cheesecake recipe is rich, creamy and sure to delight the entire family! Just a few simple ingredients and 15 minutes of prep time.
No oven needed. Perfect for any occasion. And gone within a few hours. Best of all, each bite is loaded with chunks of real Oreos.
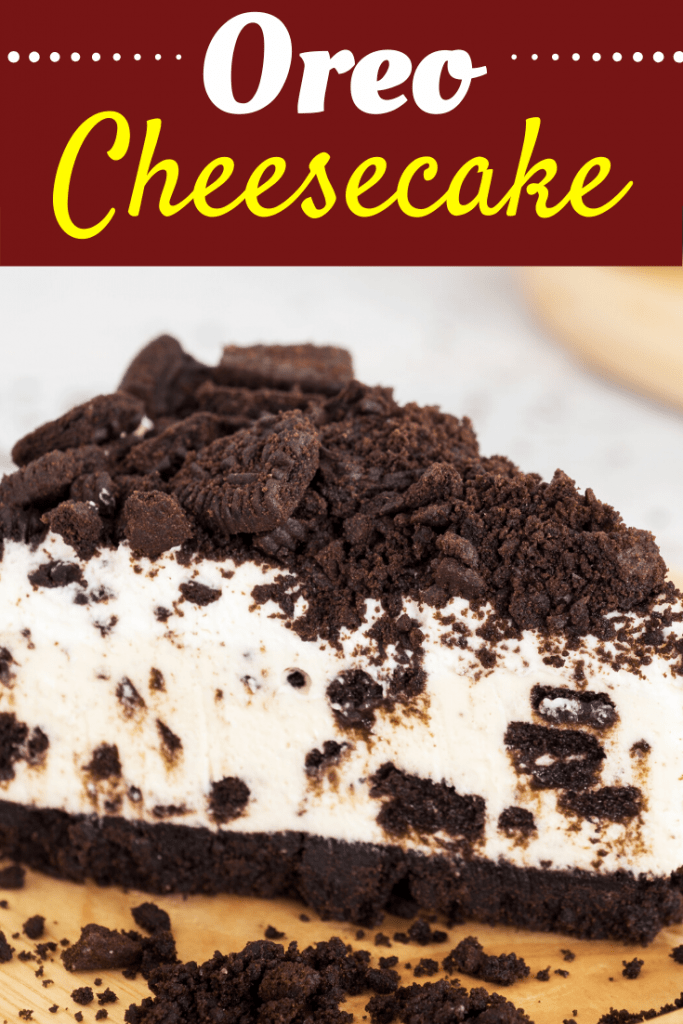
Easy Oreo Cheesecake Recipe
Everything about this recipe is easy.
The ingredients are easy. (There are only six of them, and they’re all pretty common.) The directions are easy. Storing the leftovers is easy.
Not to mention how easy it is to enjoy it — that one is a no-brainer. Everyone loves this silky, sweet, creamy cheesecake.
And because it’s so easy and so well-loved, you can make it for practically any occasion. Now, let’s talk about how.
Oreo Cheesecake Recipe Ingredients
You’ll need only six – dare I say it – EASY ingredients for this dessert:
- Oreo cookies. Be sure to pick up the family-size pack of Oreos. It has 48 cookies, which is perfect for this recipe. It needs about 40 for the crust and filling. That leaves you with eight additional Oreos to use as a topping.
- Butter. Both salted and unsalted butter are fine for this recipe. You’ll use it to make the crust.
- Cream cheese. I typically buy Philadelphia, but you can use whatever brand you like best. Just don’t get the whipped kind. Stick to blocks of regular, full-fat cream cheese, and let them warm to room temperature first.
- Sugar. You can use granulated or powdered sugar for this recipe.
- Vanilla. Pure vanilla adds a nice, rich warmth to the flavor.
- Cool Whip. The store-bought stuff is fine, but you can make a homemade whipped topping if you want.
How to Make No Bake Oreo Cheesecake
1. Prepare the Oreos. Place 15 cookies in a gallon-size Ziploc bag, and use a rolling pin to smash them. (Don’t go too crazy! You still want some nice chunks.)
These will go into the cheesecake filling. Set them aside.
Place all but six to eight of the remaining cookies in a food processor to create the crust. Mix until cookies are finely crushed.
2. Make the crust. Combine the finely crushed Oreo cookie crumbs and melted butter. The melted butter is the glue that holds the crust together.
Place the mixture into the bottom of a 9-inch spring-form pan. Press them out evenly to form the crust.
I also recommend spraying your pan with non-stick cooking spray or lining with parchment paper to make it easier to remove the cake. Refrigerate.
3. Prepare the filling. Combine the cream cheese, sugar and vanilla. Beat together until smooth. You can use an electric mixer or a hand mixer.
Allow the cream cheese to soften before mixing the cheesecake filling. This ensures that your batter comes out nice, creamy, and smooth.
4. Stir in the whipped topping and chopped cookies. Mix these in well with the filling.
Then, remove the crust from the refrigerator. Pour the filling into the crust and spread it out evenly. Cover.
5. Chill. Place the cheesecake in the refrigerator to chill for at least 4 hours. If you can let it set overnight, that’s even better.
6. Enjoy! This part is pretty self-explanatory. 🙂
Tips & Tricks
Keep these tips and tricks in mind when making your no-bake cheesecake:
- Make the dessert a day ahead of time. Prepare your cheesecake the day before you plan to serve it. I recommend refrigerating overnight for best results.
- Buy the family-size pack of Oreos. This allows you to sprinkle bits of Oreo crumbs on top. If you’re like me, the more Oreo cookies the better! You can also drizzle a little chocolate sauce on top.
- Don’t remove the Oreo filling. I often get asked whether or not you should remove the creamy filling before creating the crust. Do NOT remove the white filling. That’s the best part 🙂
- Use room temperature ingredients. Make sure the cold ingredients are at room temperature before you start mixing the filling. To do this you can simply set them on a countertop until they soften.
- Make your own whipped topping. You can use freshly whipped cream instead of Cool Whip if you like. Simply beat together 1-1/2 cups heavy whipping cream and 1 teaspoon of vanilla extract. Add sugar to taste.
Storage Tips
This yummy cheesecake tastes best cold, so storing leftovers is a breeze. Simply place them in an airtight container and place them in the fridge.
They should remain fresh and delicious for 4 to 5 days. You can also make the cake ahead of time and store it the same way.
Looking For More No-Bake Recipes?
No-Bake Cookies
No-Bake Peanut Butter Pie
Philadelphia No-Bake Cheesecake
Mason Jar Desserts


Thanks