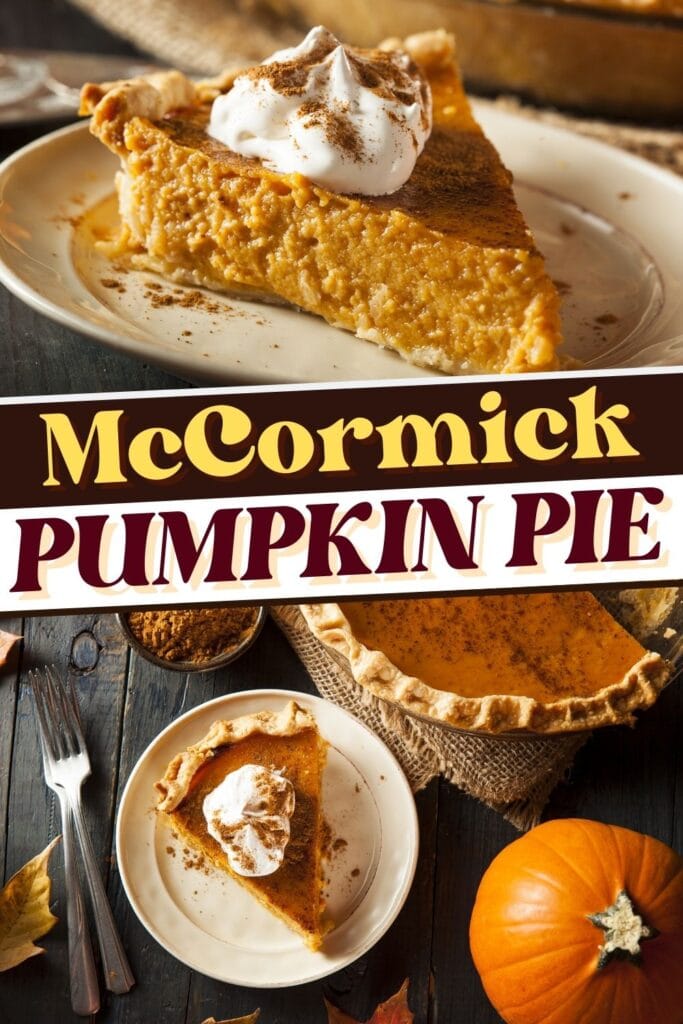
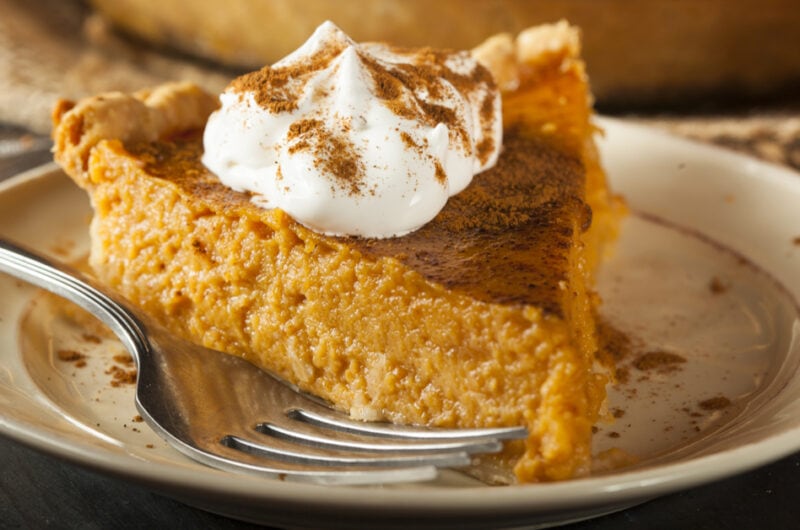
This McCormick pumpkin pie is unbelievably creamy and dreamy, and it only calls for six basic ingredients!
Easy and delicious: honestly, these are the only two things that matter to me when coming up or looking for recipes.
And this pumpkin pie happens to be both.
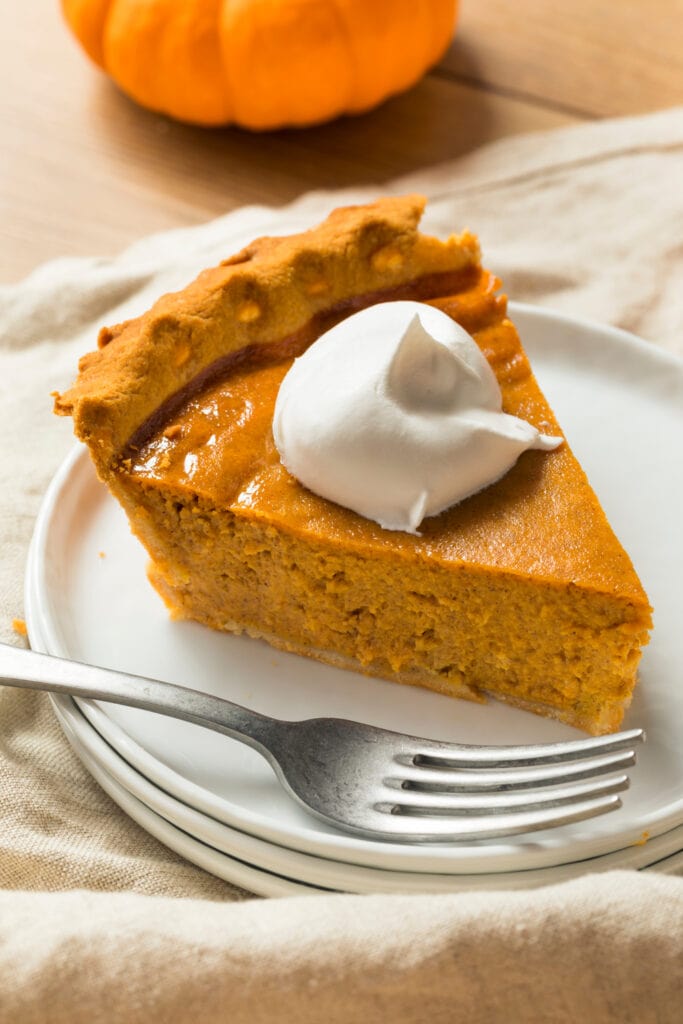
Smooth and velvety pumpkin pie filling resting on a bed of crisp crust: this is the definition of pumpkin pie perfection.
There are thousands of recipes out there, and while they may also yield delicious pies, this is absolutely one of the simplest.
Even newbie bakers will seem like pros with this recipe. So, what are you waiting for? Try it now!
McCormick Pumpkin Pie
If you’re looking for a simple fall dessert to serve at Thanksgiving or Christmas, congratulations, you’ve just found it.
This recipe yields a decadent pie bursting with sweet pumpkin and warming autumn flavors.
It’s also a breeze to make.
No need to prepare your own pumpkin puree or roll and knead your own crust!
This pie tastes heavenly even if you use store-bought crust and canned pumpkin. Awesome, am I right?
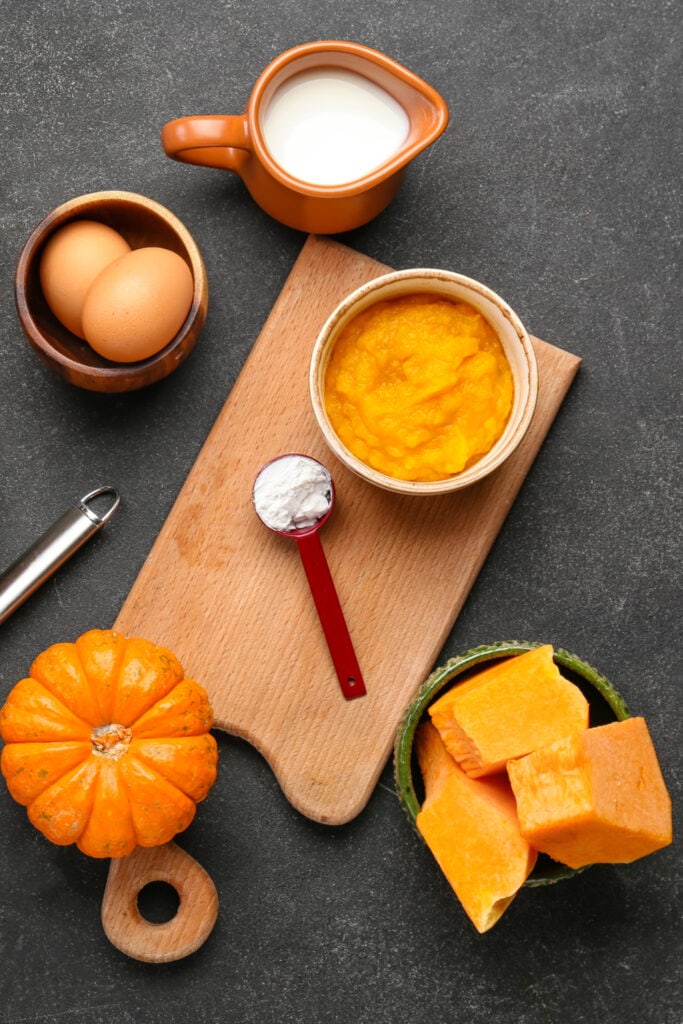
Ingredients
- Pie Crust – The base of the pie that carries the filling. Homemade pie crust is great, but don’t feel like you can’t use store-bought, either.
- Pumpkin Puree – I like to use Libby’s for its impeccable consistency, but any quality brand will do. Be sure to use pumpkin puree, not pumpkin pie filling. The latter is already sweetened and flavored with spices.
- Sweetened Condensed Milk – Unlike other recipes that call for granulated sugar and milk, here, you’ll use thick condensed milk to sweeten the filling and make it creamy. It’s like hitting two birds with one stone.
- Eggs – They’ll bind the filling ingredients together, such that after baking, it turns into a smooth custard.
- McCormick Pumpkin Pie Spice – This recipe came from McCormick, so naturally, it requires its own brand of pumpkin pie spice. However, you can also use your own blend if you wish.
- Vanilla Extract – For flavor enhancement. Again, McCormick prescribes its own brand of vanilla, but any good quality vanilla works.
Pie Crust Shortcut
As much as I don’t want to reveal my secret, here it is. For this recipe, I use a refrigerated pie shell!
Pumpkin pie snobs may frown upon this, but hey, it makes life a breeze and it turns out great all the time.
So if you’re like me who don’t have the time or dedication to make a crust from scratch, go for pre-made store-bought crusts.
This is a safe environment, no one will judge you here!
If you’re worried about the crust getting too soggy once you add the custard filling, you can try blind-baking.
It’s the process of baking the pie crust before adding the filling to help firm it up. This way, it’ll be sturdy enough to handle the filling without turning soggy.
Here’s how:
1. Line the pie crust with parchment paper or aluminum foil.
Fill it with pie weights, dried beans, or uncooked rice if you don’t have them.
The point is to put something heavy on top of the crust to keep it from puffing up while baking.
2. Bake the crust at 350 degrees Fahrenheit for 10 minutes. Take out the weights and lining and bake for 10 more.
Pumpkin Pie Tips & Tricks
- I always say fresh is best, but in the case of pumpkin pie, canned pumpkin is the better choice.
Fresh pumpkin has a lot of liquid in it, so it tends to be more watery than canned pumpkin.
If you’re not able to drain it properly, your pie filling will be runny.
It can also be very gritty and grainy if you don’t strain it well enough, unlike canned pumpkin, which is relatively smoother and pulp-free.
Also, let’s be honest: who has the time to go through all the effort of roasting, draining, and straining fresh pumpkin?
- Libby’s is my personal choice for pumpkin puree because it’s the smoothest and most flavorful. Feel free to use yours. If it’s not that smooth, though, consider giving it a quick blitz in the food processor.
- Give the canned puree a quick simmer to get rid of its tinned taste.
- While I’ve never tried this myself, I’ve heard many bakers adding a pinch of freshly ground pepper to the pie filling to brighten its flavor. Try it and let me know what you think.
- If you notice the crust to be browning way too much while baking, loosely cover the pie dish with foil. This’ll keep the exterior of the pie from over-browning.
- Want a thicker and creamier filling? Add an extra yolk to the mix.
- Prepare the pumpkin pie 2 days in advance and refrigerate it. This will give it time for the flavors to marry, making it even more flavorful.
- Some pumpkin pie recipes will ask you to insert a knife into the center of the pie to see if it’s done. Don’t do this!
This gives your pie a high probability of cracking down the center. Instead, simply nudge the pie plate a little.
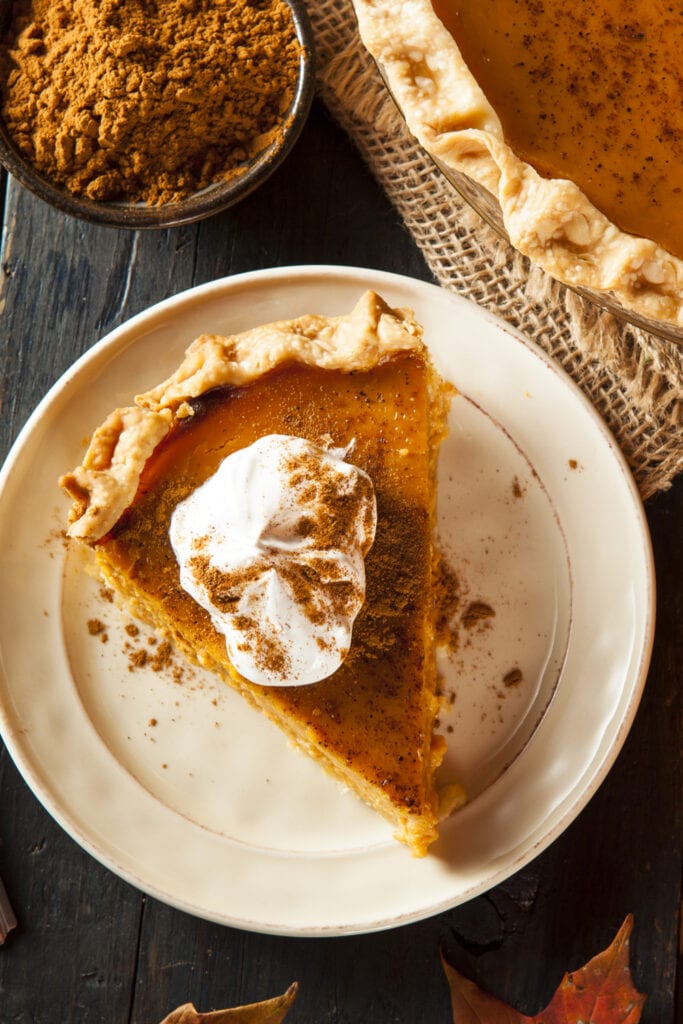
The edges should be dry and set, but the middle should still be jiggly.
Homemade Whipped Cream
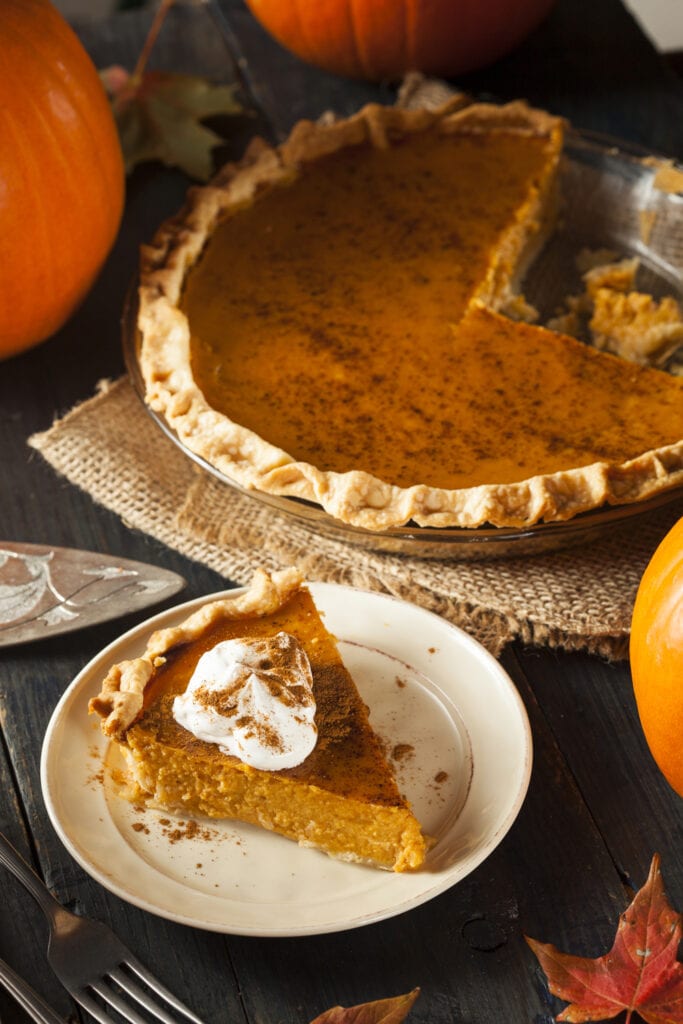
Pumpkin pie is great even as it is, but it’s so much better with whipped cream on top. Cool Whip is fine, but homemade whipped cream is divine.
Here’s how to make whipped cream at home:
Ingredients:
1 cup cold heavy whipping cream
1/4 cup powdered sugar
1 teaspoon vanilla extract
Directions:
In a large bowl, beat together the heavy cream, sugar, and vanilla with an electric mixer on high speed until stiff peaks form. Refrigerate it until you’re ready to serve it.
Tips:
- The colder the cream, the better it’ll whip.
- Freeze the beater attachments and the bowl for 20 minutes beforehand. This will also make the cream easier and quicker to whip.
- Beat in a dash of ground cinnamon and/or ginger for an extra touch of fall flavors.
- Instead of vanilla, you can also infuse the cream with other extracts such as lemon, almond, or peppermint.
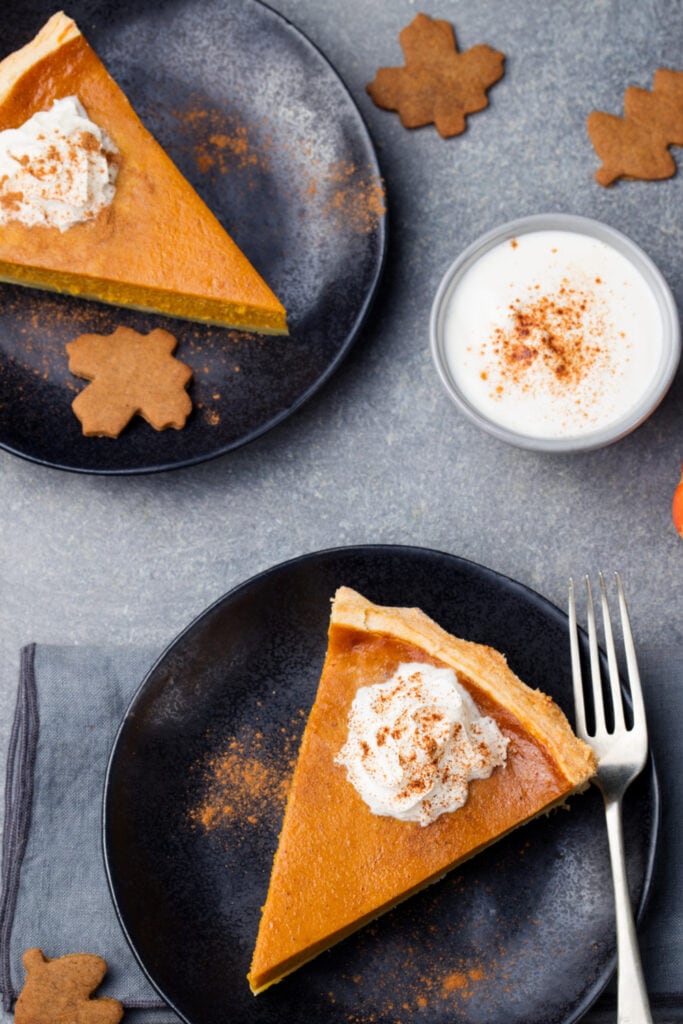
How to Avoid Cracks in Pumpkin Pie
While I won’t say no to a pumpkin pie with cracks along the surface, one with a perfectly smooth and silky filling is much more enjoyable.
This pie recipe is super easy to follow, but if you don’t follow it to a tee, you’ll risk ending up with a cracked pumpkin pie.
So, just to be on the safe side, keep in mind these three important tips to make sure your pie won’t crack.
First, don’t overmix the filling. Whisk them together gently just until the ingredients are well-combined.
Don’t use an electric mixer for this. The filling will come together easily even if you just use a wire whisk.
Next, don’t over-bake the pie. Adhere to the prescribed baking duration, which is 55 minutes.
It might seem under-baked, but it’s not. The filling is supposed to be wobbly in the middle.
Lastly, don’t go beyond the recommended temperatures.
The procedure calls for baking the pie first at 425 degrees Fahrenheit for 15 minutes and at 350 degrees for the next 40 minutes.
If you go higher than those prescribed temperatures, the pie filling could dry out, causing it to shrink and eventually crack.
How to Store Pumpkin Pie
According to the USDA, all pies that contain eggs must be refrigerated. This includes our dear pumpkin pie.
Before you refrigerate it, though, be sure to allow it to cool completely first on a wire rack. This will take around 2 hours.
Once it’s completely cooled, cover it in plastic wrap to prevent it from absorbing the odors of the other inhabitants of your fridge.
Don’t cover the pie in plastic wrap when it’s still warm: this will cause condensation, which will then yield a soggy crust.
Refrigerate the pie for up to 3 to 4 days.
Do not freeze the pie! Because it contains milk and eggs, it won’t freeze well at all. Freezing will cause the custard filling to separate.
More Pumpkin Recipes You’ll Love
31 Easy Canned Pumpkin Recipes
