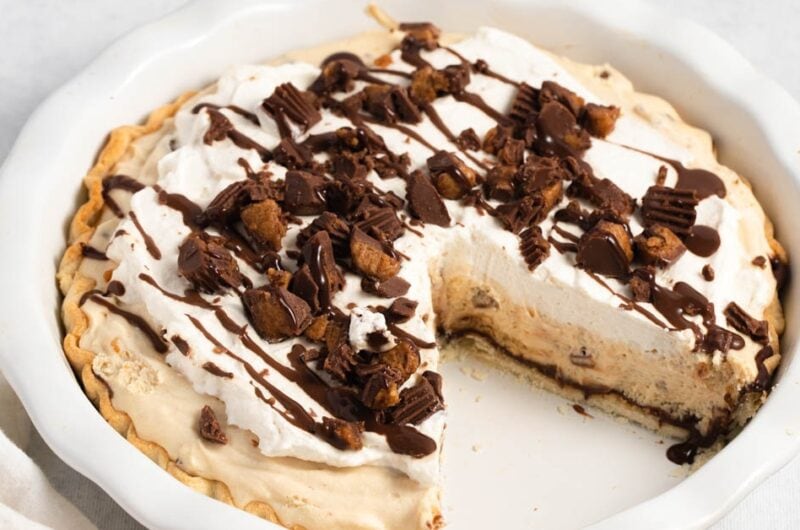
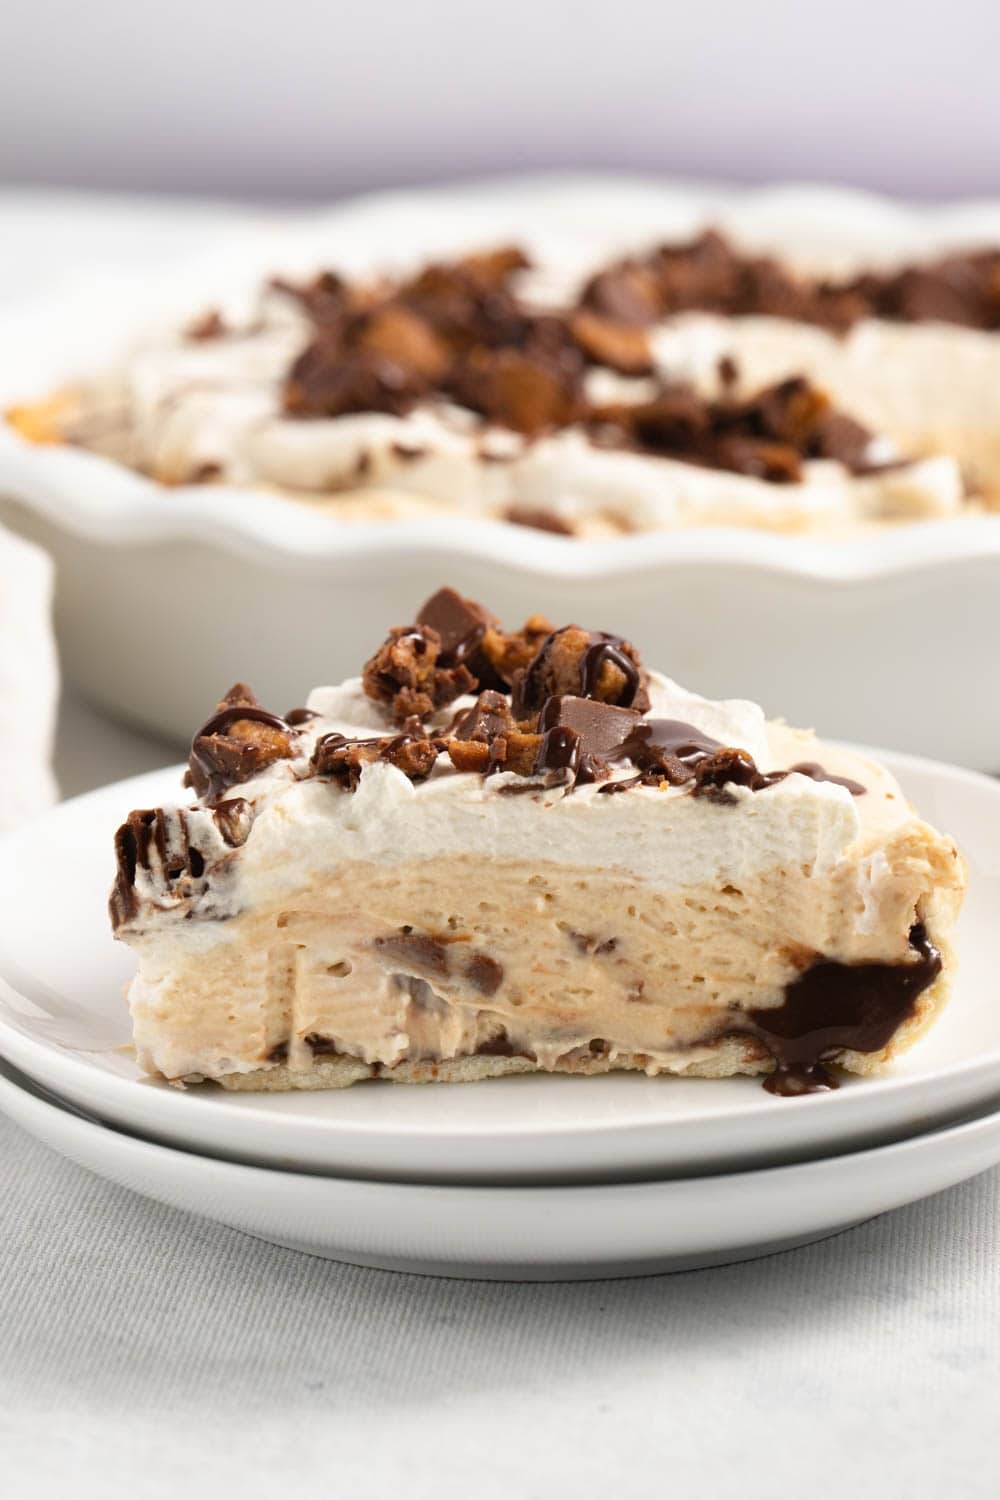
It’s hard to resist the decent combo of chocolate and peanut butter in a slice of Reese’s peanut butter pie.
So don’t bother trying – just dig in!
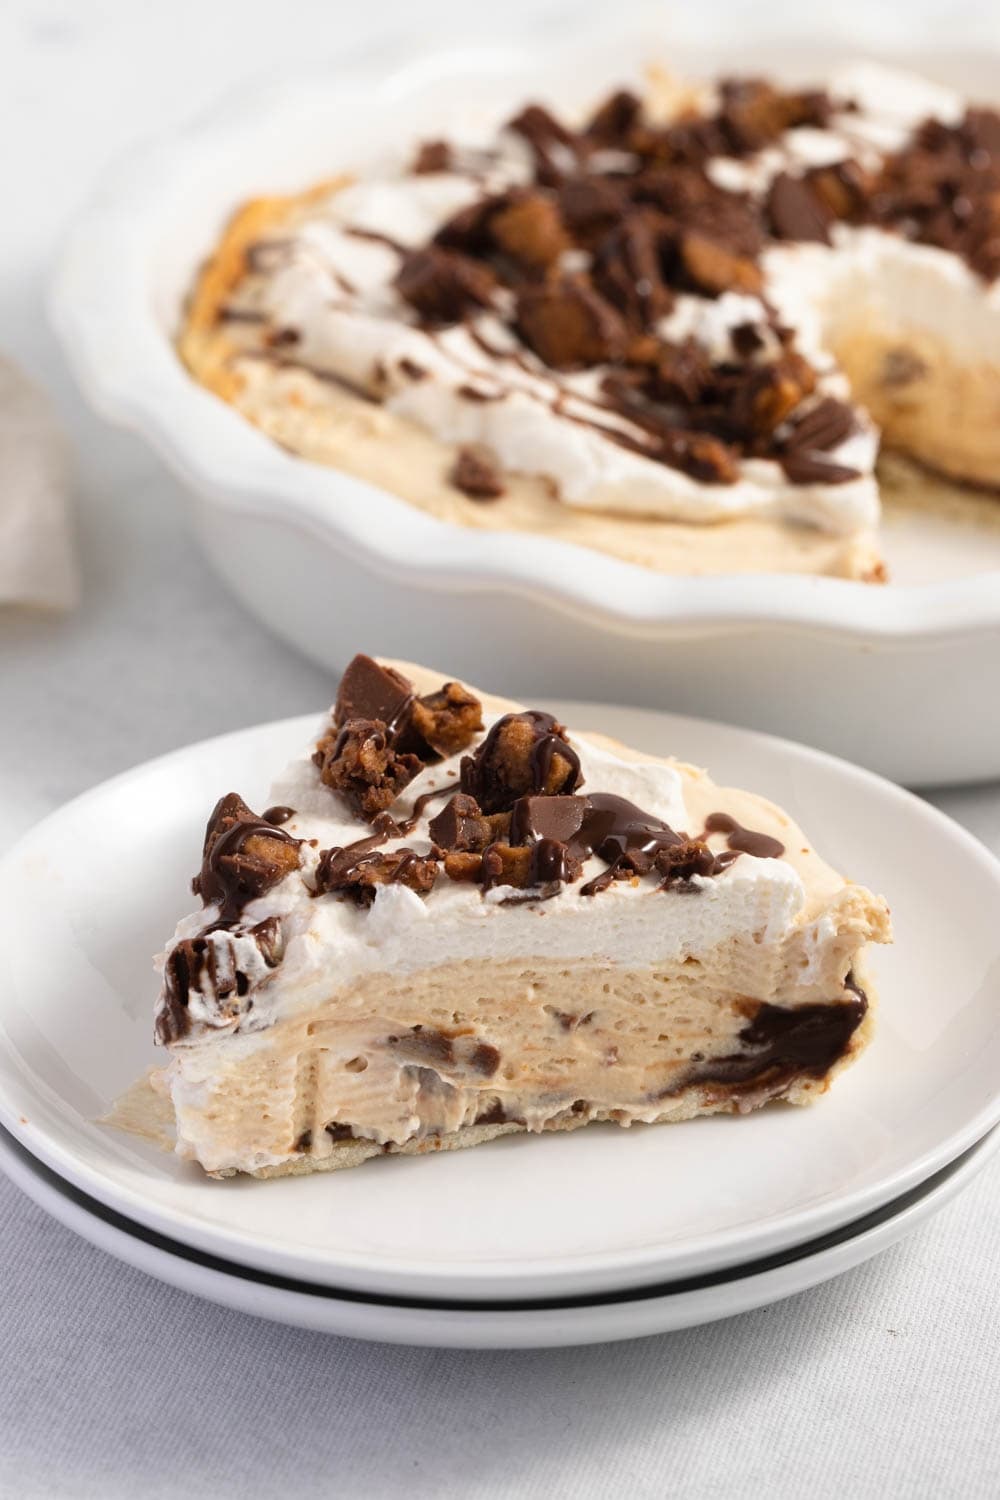
This spectacular dessert is simple yet decadent. And it’s a total crowd-pleaser!
Not only does it taste incredible, but the creamy texture is to die for. Plus, it’s a breeze to whip up.
This Reese’s peanut butter pie is a garaunteed crowd-pleaser. It’s my go-to for family gatherings, holidays, and outdoor cookouts.
7-Ingredient Reese’s Peanut Butter Pie
Reese’s cups are a family fave in my house. And I’m guessing that since you’re here, you love them too.
So why not take that incredible nutty-chocolatey goodness and make an insanely good cream pie?
Add a little whipped cream, some cream cheese, and KAPOW! You’ve knocked this one right out of the park.
Serve it for birthdays, BBQs, holiday parties, and more!
Ingredients
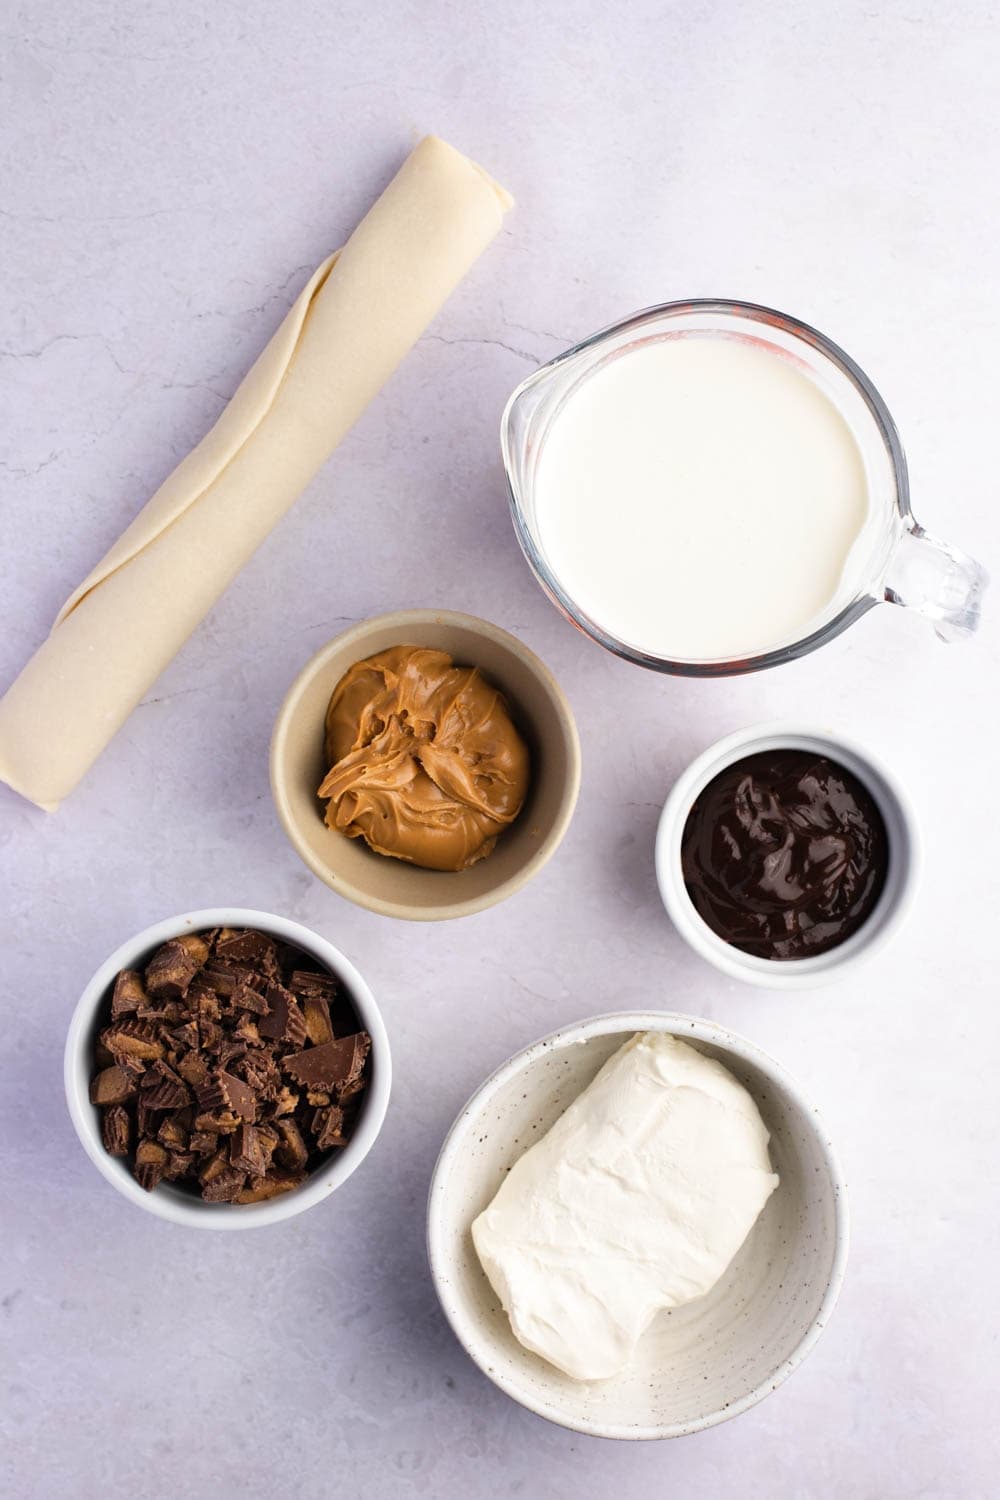
You don’t need much for this peanut butter pie. Just seven simple ingredients:
- Pie Crust – Make your own if you like, but store-bought will cut the prep time in half! I like flaky pastry, but if you want a no-bake dessert, use a Graham Cracker or Oreo crust.
- Heavy Whipping Cream – You’ll whip this yourself, and it has the best flavor. But go ahead and use store-bought whipped topping if you prefer.
- Cream Cheese – Use room temperature, full-fat cream cheese. It’ll give you the thickest, richest pie.
- Peanut Butter – Go with creamy peanut butter for this recipe. (Sorry, crunchy lovers!) That’s what makes the filling so light and fluffy.
- Sugar – For extra sweetness.
- Reese’s Peanut Butter Cups – You’ll chop these up and put them inside the pie for maximum indulgence! Also, save some for the top.
- Hot Fudge – This, too, goes inside the pie and on top. And again, use ready-made for convenience.
How to Make Reese’s Peanut Butter Pie
Follow these simple steps to make Reese’s peanut butter pie:
- Bake the pie crust. If you’re using a ready-to-eat pie crust, skip this step. If not, bake the crust per the package instructions until golden brown. Then, leave it to cool completely.
- Add the fudge sauce. When the crust is cold, microwave half a cup of hot fudge sauce until it’s liquid enough to spread. Pour it into the cold crust and spread it evenly. Pop the crust into the fridge while you make the filling.
- Make the pie filling. Chop the Reese’s into bite-sized pieces. Next, whip the cream until stiff peaks. Make the sweetened cream cheese and mix everything together.
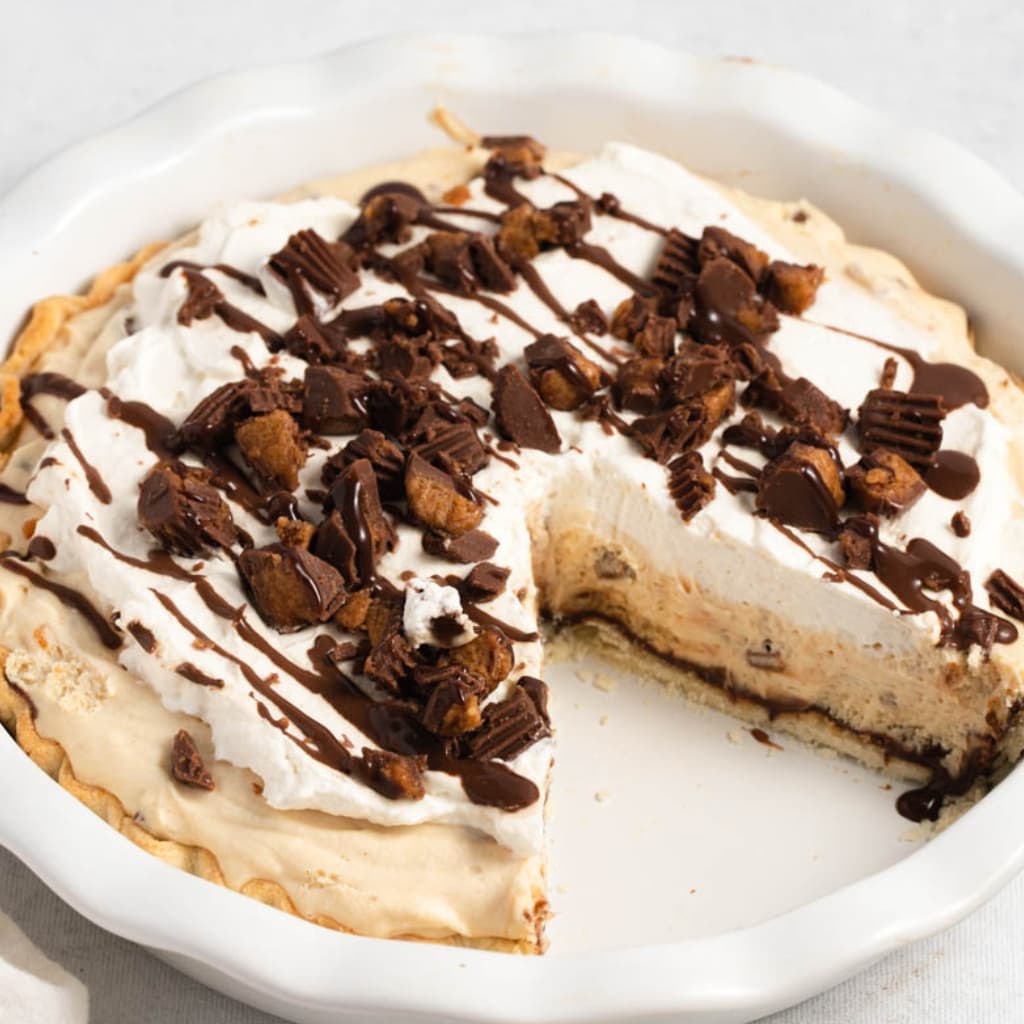
- Assemble the pie. Pour the pie filling into the cold crust, over the fudge sauce, and spread it out with a spatula. Top with more whipped cream, sprinkle the last of the Reese’s over the top, and drizzle the rest of the hot fudge over that.
- Chill the pie. Place the pie in the fridge for a minimum of 3 hours. Serve, and enjoy!
Recipe Tips & Tricks
Here are a few tips, tricks, and variations to keep in mind:
- Use a different pie crust. Go for a cracker crust, Oreo, chocolate cookie, or even peanut butter cookies. You could even use a gluten-free crust if you like.
- Don’t skip the cooling times. The crust needs to be cold before you add the filling. And the same goes for the fudge. If you pour the cream cheese mixture over warm hot fudge, it’ll melt. Also, it needs to set before it will slice – so three hours is a must!
- Fold in the cream. The term “folding” in baking means to very gently stir. The idea is to slowly tuck the spatula under the mix and fold it back on top of itself. This is the best way to incorporate whipped cream because it should keep it nice and fluffy.
- Use whatever Reese’s you prefer. Go for white chocolate, caramel, big small – you name it. I only recommend chopping them so the pie is easier to eat.
- Use different sauces for extra flavor. Hot fudge is great, but salted caramel is better! Or make it extra indulgent with a drizzle of marshmallow fluff!
- Add different candies. It’s a Reese’s pie, but that doesn’t mean you can’t add Reese’s Pieces or even Rolos if you like!
How to Store
To store: Wrap the pie in plastic and keep it in the fridge for 4-6 days.
If you used fresh whipped cream, 4 days is the max, since it might start to weep.
Alternatively, use a large, airtight container. This will keep the plastic from sticking to the top.
One thing to remember: If it has candy chunks on top, they may get hard. Be careful when you bite into them.
To Freeze: If you’re making it ahead of time, do everything except add the final toppings. (Crushed candy and hot fudge drizzle.)
Still chill it for three hours. Then wrap it in plastic and freeze it for about a month.
To freeze leftovers, start by cutting the pie into individual slices. Wrap each one in plastic wrap, and add a date to know when you froze it.
These slices will last 1 to 2 months.
To Thaw: When you’re ready to eat it, let it thaw in the fridge for at least 24 hours. Add the final toppings and serving.
More Pie Recipes You’ll Love
Mock Apple Pie
Sweet Potato Pecan Pie
Cinnamon Roll Dutch Apple Pie
Shoofly Pie
