I don’t know about you but any sweet treat with peanut butter gets two thumbs up from me… especially Bisquick peanut butter cookies!
I absolutely love that nutty, creamy flavor in a perfectly chewy cookie paired with a glass of milk or even with a little bit of jam.
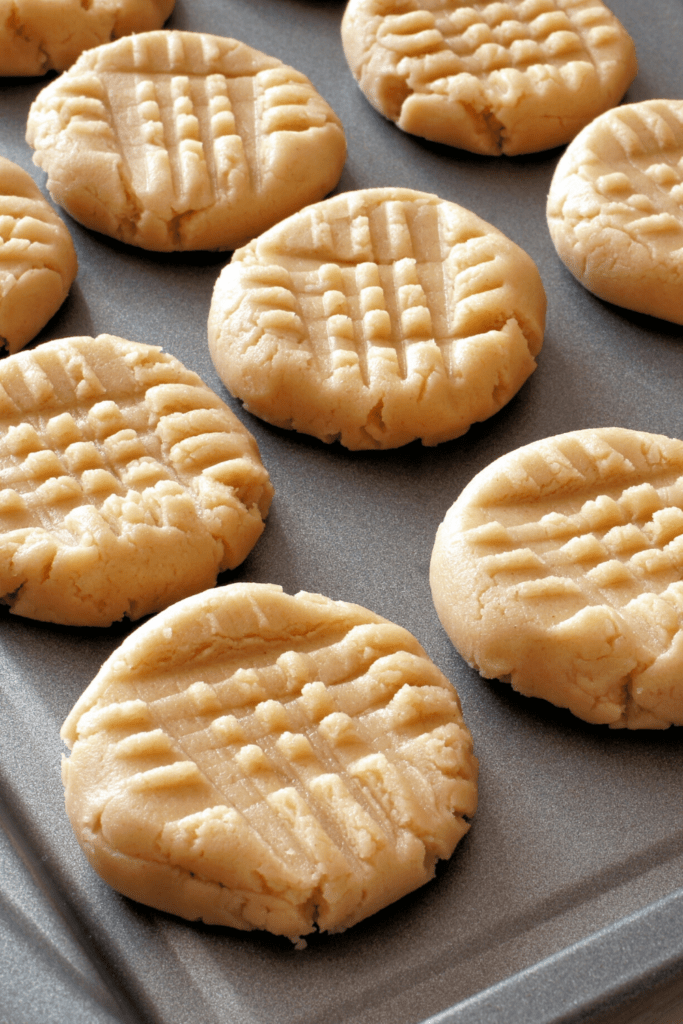
If you’re a fan of thick, moist, and chewy peanut butter cookies, you’ll LOVE this recipe. It only uses four ingredients… but no eggs, no butter, and no granulated sugar!
The secret ingredient? Bisquick! If this sounds too good to be true, don’t knock it till you try it!
That’s the best part about Bisquick recipes. With only a few pantry staples, there are so many delicious things you can make!
These quick and easy Bisquick peanut butter cookies are to die for.
Peanut Butter Cookies
There’s something about peanut butter cookies that always reminds me of being at grandma’s. The one who spoiled you and always had a kitchen full of tasty treats.
These cookies are impossible to resist when they come right out of the oven soft, warm, and filled with peanut butter goodness.
Best of all, you can whip up a batch of these any day of the week. Whether you’re making a quick snack for the kids or a tasty midnight treat, these cookies will hit the spot.
Plus, they’re super easy to make with just 4-ingredients that are probably already in your kitchen! All you need is some creamy peanut butter, sweetened condensed milk, vanilla extract, and Bisquick mix.
Don’t forget to share with friends, family, or coworkers. Cookies are one of the best ways to share the love!
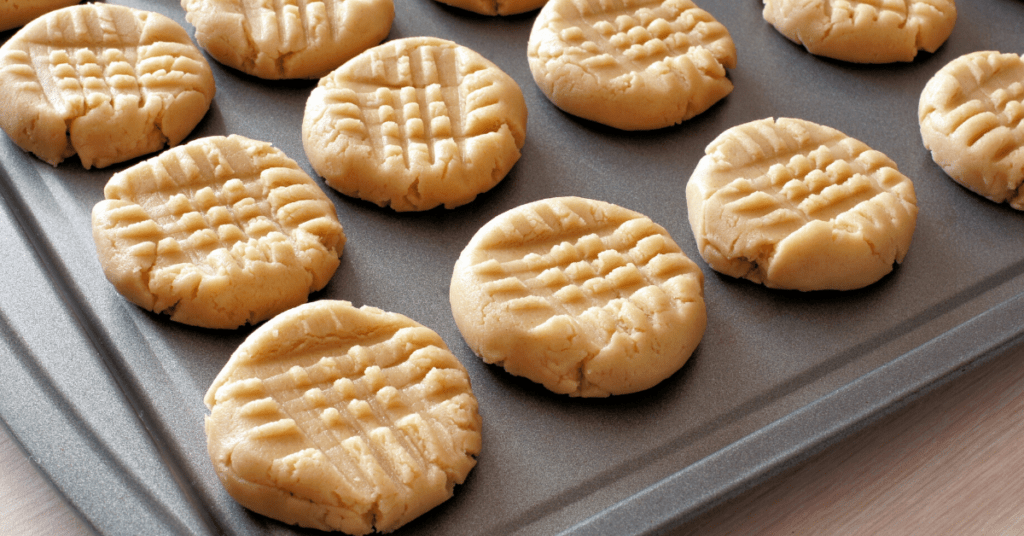
Can I Make the Dough in Advance?
Want to make the cookie dough in advance? You definitely can. Your peanut butter cookie dough will last up to 5 days in the fridge. Take them out anytime you’re ready to bake!
And here’s an insider tip: the longer you keep them chilled, the better it tastes! I usually go for 24 hours of chill time.
Tips For Making Bisquick Cookies
Want to make the best Bisquick peanut butter cookies ever? Follow these tips and tricks for easier, tastier treats!
Never bake without chilling! If you put them straight in the oven, the dough will be too moist and will spread and flatten!
Don’t have enough space in your fridge? You can also chill the dough while it’s still in the bowl and shape your cookies later on, right before baking. Add in an extra hour to the 2 hour minimum chilling time just to make sure!
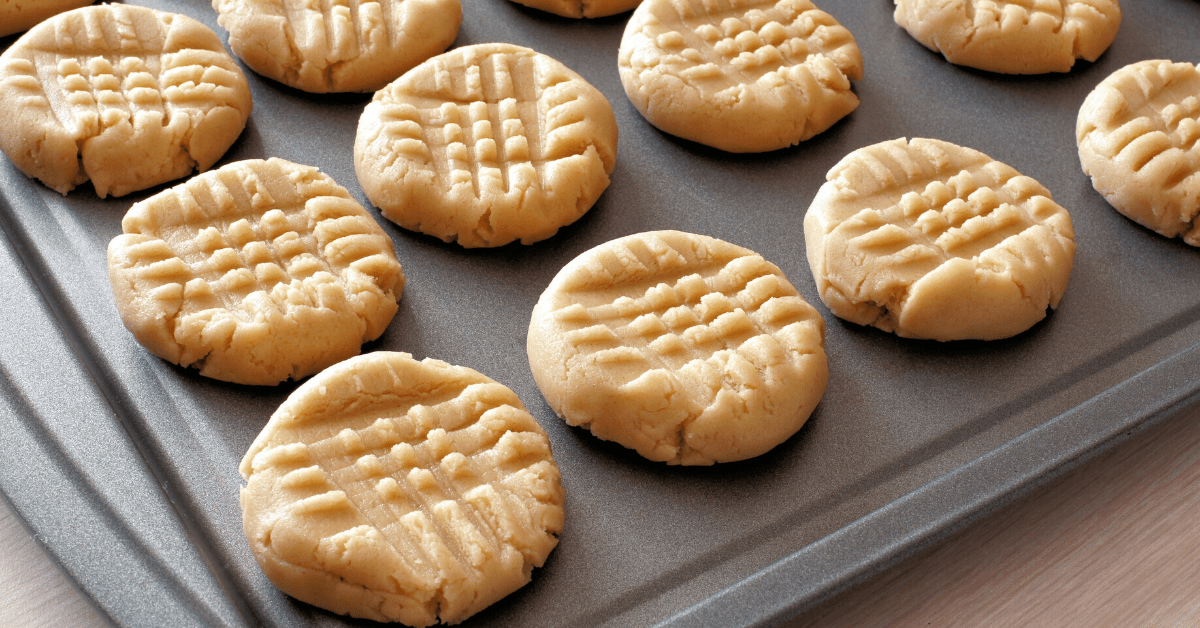
When flattening your cookie before baking, use a fork. Don’t worry if they get crinkly on the sides, this will add just a little bit of crunch to the cookie once it’s done baking.
Don’t flatten them too much! These peanut butter cookies are best when they are about 1/3 of an inch thick. This ensures that they stay gooey, chewy, and delicious!
Stick to regular, creamy peanut butter. There are some easy recipes for homemade peanut butter out there but for this recipe, they have a tendency to separate so stick with store-bought peanut butter. I like to use Jif!
Want a gluten-free cookie? Try using gluten-free Bisquick! You won’t even have to substitute the other ingredients.
If you’re craving more sweetness in your peanut butter cookie, you can definitely add a little bit of that too. Right after baking, roll your cookies in some granulated sugar or cinnamon sugar! They’ll taste even better!
Looking for more texture to add to that soft, chewy cookie? Go ahead and top it off with a chocolate kiss right after taking it out of the oven. The cookie will still be soft enough for you to embed that chocolate.
Here’s a tip for extreme peanut butter lovers: add peanut butter chunks! The best way to do this is also after baking. Press them onto the soft, warm cookie for more texture and nutty goodness!
Peanut butter not enough for you? Take this cookie to a whole new level by making it with Nutella!
Instead of a whole cup of peanut butter, use half a cup peanut butter and half a cup Nutella. It’s going to be DELICIOUS.
Can You Freeze Peanut Butter Cookies?
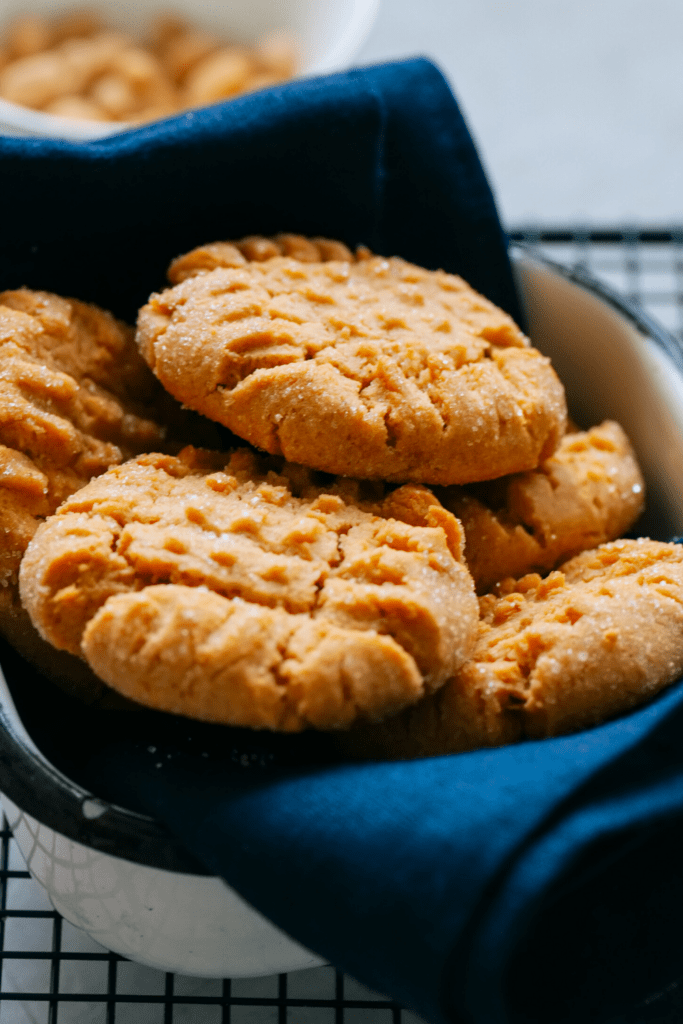
These cookies never stick around for long in my house. They’re simply too hard to resist! But in case you’re wondering, peanut butter cookies will last up to two weeks at room temperature as long as they’re placed in an airtight container.
You can also keep your cookies in the freezer, baked or unbaked!
If they’re already baked, place them in a freezer-safe container and make sure to separate each cookie with parchment paper so they don’t stick together.
To reheat, first defrost them in the fridge overnight and reheated in the microwave for about 30 seconds.
If you’re freezing them before baking, you’ll need to follow a few extra steps.
- Shape your dough into mounds or balls and flatten as you would before baking. Place them in a baking sheet or pan and freeze for 2 hours.
- Move the balls into an airtight container. Separate each of them with parchment paper so they don’t stick together.
- When you are ready to bake, just place them back on a baking sheet and straight into the oven at 375 degrees F. No need to defrost!
How to Make Bisquick Peanut Butter Cookies
This super easy and super delicious recipe only takes 5 minutes of prep time. You don’t even need an electric mixer!







These are very good. I use the low carb version of bisquick that is called Carbquik. I sometimes top them with a single ( or maybe 3) butterscotch chip, upon exiting the oven, to fancy them up a bit. Very nice flavor combo.